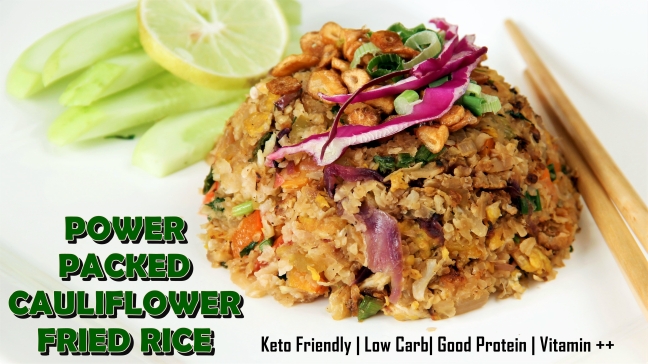
Power Packed Cauliflower Fried Rice
10 Min Recipe that is Keto Friendly | Low Carb| Good Protein | Vitamin ++
This recipes is a hot favorite with many weight watchers right now and health food morons such as mua 🙂
This cauliflower rice (no rice added) is a good and a healthy substitute to your Chinese fried rice cravings, without actually being fried!
What makes it even great, is the versatile quality of cauliflower to adapt different flavors. Mix it with dark soy or oyster sauce or with sweet chili, it all blends in well.
Ah! This dish takes meats and no meats of your choice too and is extremely simple to toss-up with veggies of your choice.
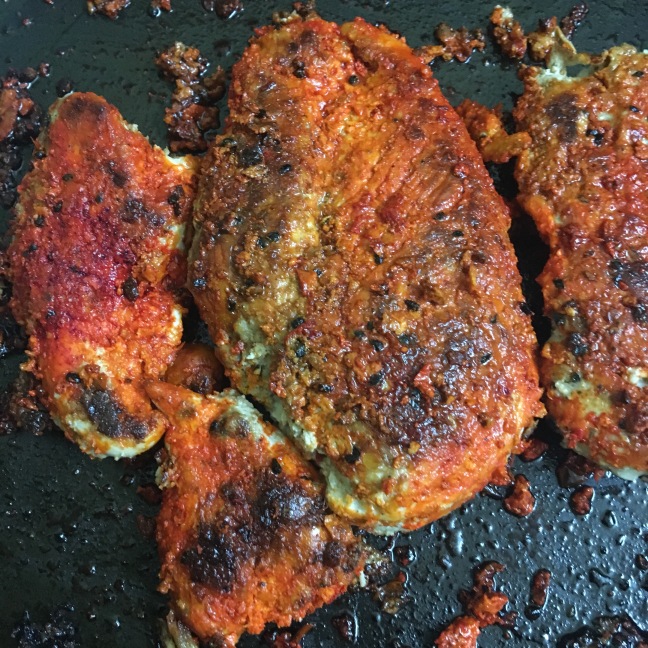
I was at a detox spa recently www.healthoasisresort.com, fasting for 10 days along with many other cleansing rituals. Post our (cousin and i on a #detoxholiday) detox, we were served this dish with all things organic, msg free and fresh.
Our body needed to activate it’s good bacteria development process and thus with this power packed cauliflower rice we were served a bowl of sauerkraut (fermented cabbage) as a natural probiotic.
Ofcourse, we were famished with 10days of fasting and thus the first food morsels we ate had to be memorable. But trust me you all with relish it as much as I did even though the context will be totally different 😉
Here is what we need!
Pre-Prep Time : 15 minutes
Cook time: 10 minutes
Ingredients:
- 2 eggs (preferably organic & Omega3 rich, especially for Keto folks) | vegetarians & Vegans can use Tofu instead (200grms)
- 1 large Onion, diced
- 1 spring onion, chopped fine with the stems
- 1 tsp, ginger, minced
- 1 tbsp, coconut oil or Sesame seed or olive oil (virgin, cold pressed)
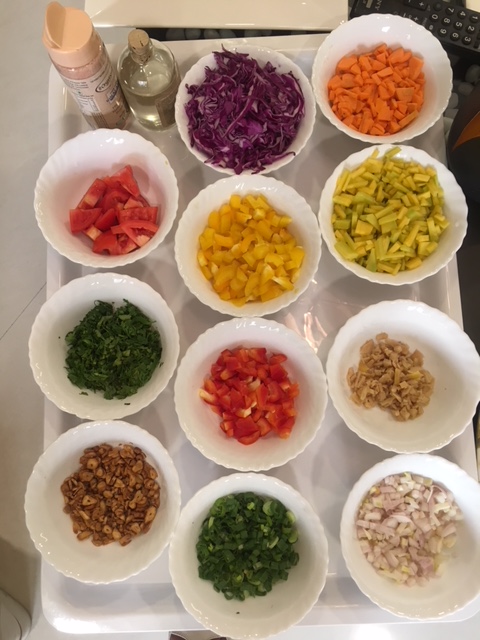
- I large cup of mixed veggies of your choice, chopped fine
- Carrots, pumpkin, red & yellow peppers, red cabbage
- Others that can be used are frozen peas, asparagus, broccoli, green cabbage
- 2 medium head sized cauliflower (to make it into rice)
- 2 tsp burnt garlic (keep it fried, we will use it for garnish)
- 2 tbsp dark soya sauce (MSG free if possible) or Tamari
- 2 tsp oyster sauce (optional vegetarians & Vegans can skip)
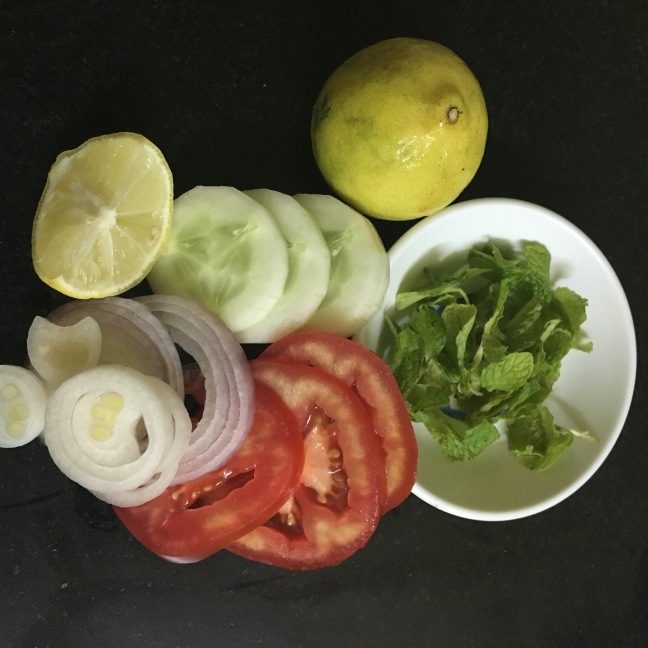
- 1 Tomato, cut into long thin slices
- Himalayan Pink Salt to taste
- Black Pepper, freshly crushed
- A few fresh coriander leaves
- 1 lemon wedge
- a few roasted cashews
Method:
- Wash & clean the cauliflower. Drain and dry the water completely before cut the head into florets.
- Making cauliflower into rice :
- a) grate them fine, finer than what you do to make “gobhi paranthas” (now go check with your respective moms’ for the grating process)
OR
- b) pound the florets in a food processor for a few churns. The texture of the cauliflower should be like cous cous or rice consistency.
- Getting the moisture out of the raw cauliflower is key as our next step. I suggest spreading all of the riced cauliflower onto a kitchen towel and then using your own body weight as the force to drain the moisture out
- Now take a skillet and add the ½ tbsp oil of your choice, once the oil is heated, add the minced ginger
- One the ginger starts sizzling, add the diced onion and stir till the onions soften and turn yellow
- Now break 2 eggs into the skillet and scramble them in on high flame till cooked. Your stirring will break the eggs into small pieces and make it look like unda bhurjee. Once done, push the cooked egg mixture on one side of the pan/skillet.
- Add rest of the oil and heat it slightly to add the vegetables one after the other. Add carrots, then stir in the cut pumkin and cook for 3-4 mins. Follow it by adding the red cabbage, bell peppers and some spring onions. Stir-fry this colorful and vitamins rich skillet for another 2 mins and later mix the eggs into the vegetables.
- Now its time for some seasoning, add salt pepper to taste, the soya and oyster sauce and stir well.
- Add the cauliflower into the skillet and increase the flame. Stir in well to mix the cauliflower rice with the vegetables and sauces. Add extra sauces if your palate demands so. Cooks for 5 mins
- On the 4th min do remember to add some fresh tomatoes in the skillet preparation and stir in well with some coriander leaves. Put the lid on to the skillet and let it rest for 2 more minutes.
- Our power packed Cauliflower rice is now ready! Remove from the heat, fill the rice in a deep bowl and set it right
- Now its time for garnish : plate the rice upside-down (from the bowl) and garnish the surface with spoon full of burnt garlic, half a lemon wedge, some spring onions and some fresh coriander leaves
- Serve the fried rice with some fermented vegetables like kimchi or sauerkraut (good for the gut) or some fresh slices of cucumber.
#Variations:
- Vegans & vegetarians can use tofu scramble instead of eggs
- Meat eaters, you can add shrimps| chicken ,sauté separately in any sauce of your choice
- Using Tamari sauce makes the dish Gluten Free too
- If you don’t like the burnt garlic taste, add garlic right at the beginning with ginger
#Tip:
The key to this recipe is using fresh vegetables (organic preferable) and NO OVER COOKING!
If possible keep the grated cauliflower ready a day prior in the refrigerator, wrapped in a kitchen towel so that max moisture is out and your rice stays nice and crunchy once cooked.
Enjoy this scrumptious dish as your lunch or dinner!!”